More reference
Indicator glass remodelling
Task:
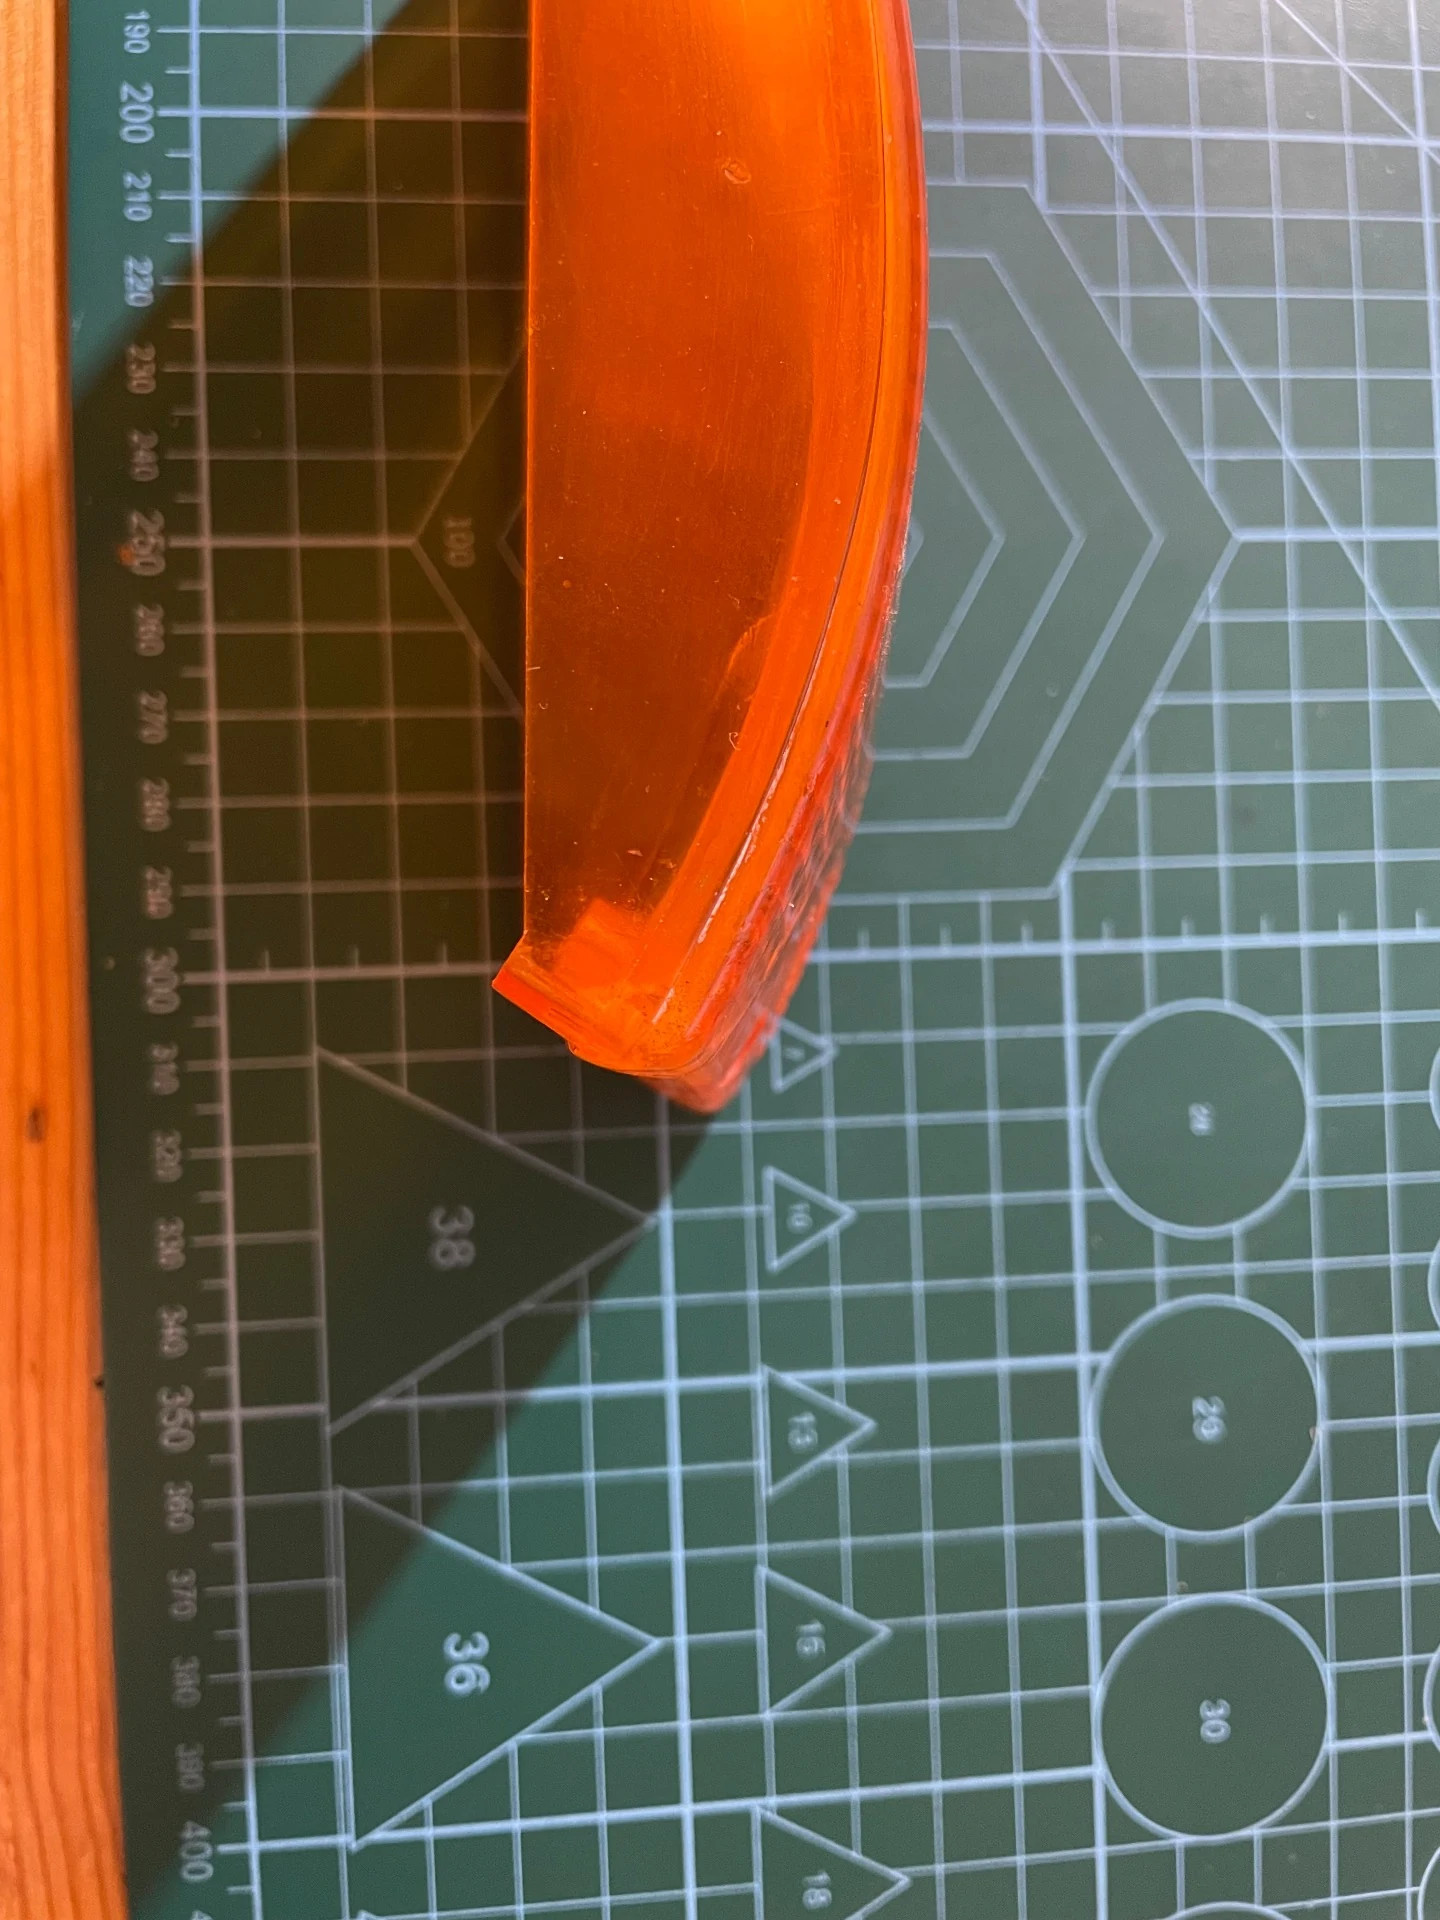
- Checking the sample provided by the client, looking for defects, damages, and deformations that need to be corrected when creating the new CAD model. When re-modelling old, used parts, a comprehensive examination of the samples to list the defects that have developed over time and use is crucial.
- Since the geometry of the glass features no fixed measuring points, the exact dimensions can only be obtained by scanning. Preparing the sample for scanning.
- The shiny surfaces are treated with a matte, so-called scanner spray, which coats the sample surfaces with a white powder 1-2 microns thick, eliminating glaring and providing for successful scanning.
- The scanning creates so-called point clouds, which are used to create the mesh.
- Preparation of a CAD model taking into account the specifications of the selected production process. In this case, the remanufacturing will be done using a 3D resin printing process.
- Comparison of the finished CAD model with the scanned mesh.


